As merryterry commented on Book for Baby on Ravely, “I think it might be a great way to re-use gauge swatches as well.”
YES!
Choosing Gauge Swatches and New Cover
- Choose Swatches and yarn with the same (easy) laundry needs
- Choose swatches made from safe things to chew on
- Have fun arranging your swatches in natural light.
Setting up your swatches
Arrange your chosen swatches in a stack, edges that have live stitches or picot bind off together. Think about how the colors flow, some hide behind others, and what effects look cute peeking through lace.
Measure how long and wide the cover edge needs to be to cover all of the swatches with about .25 inch, .5 cm extra in both dimensions. Some of your rectangles will be different sizes, some of your swatches will not be rectangles! The book cover will give unity to the project.
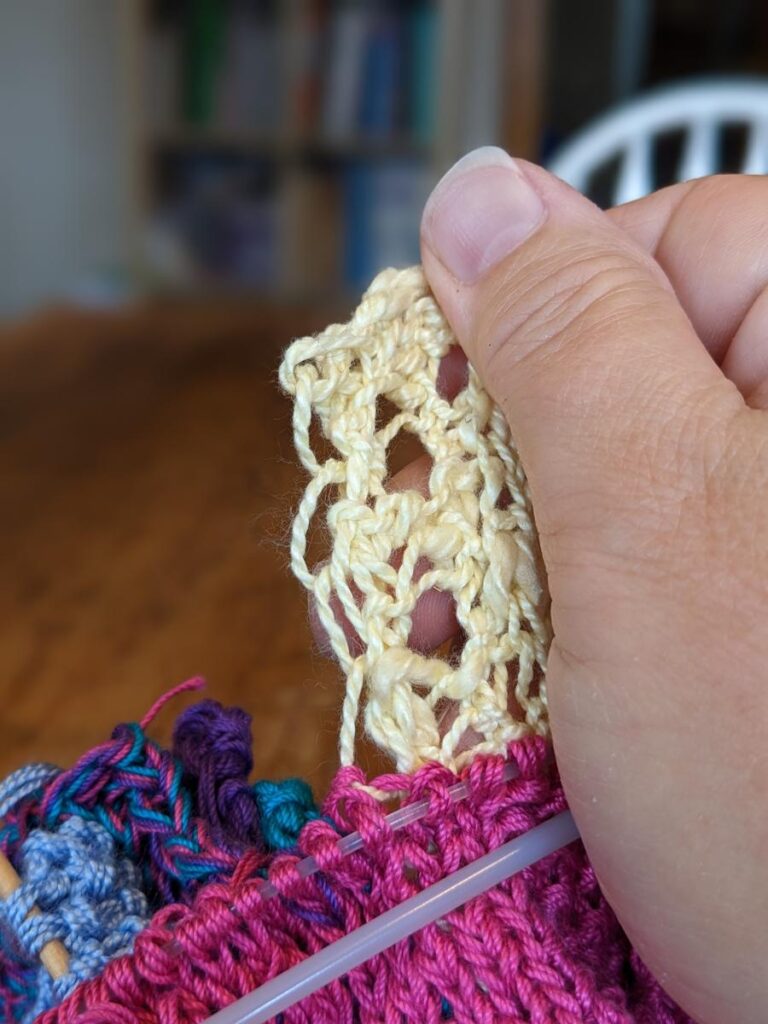
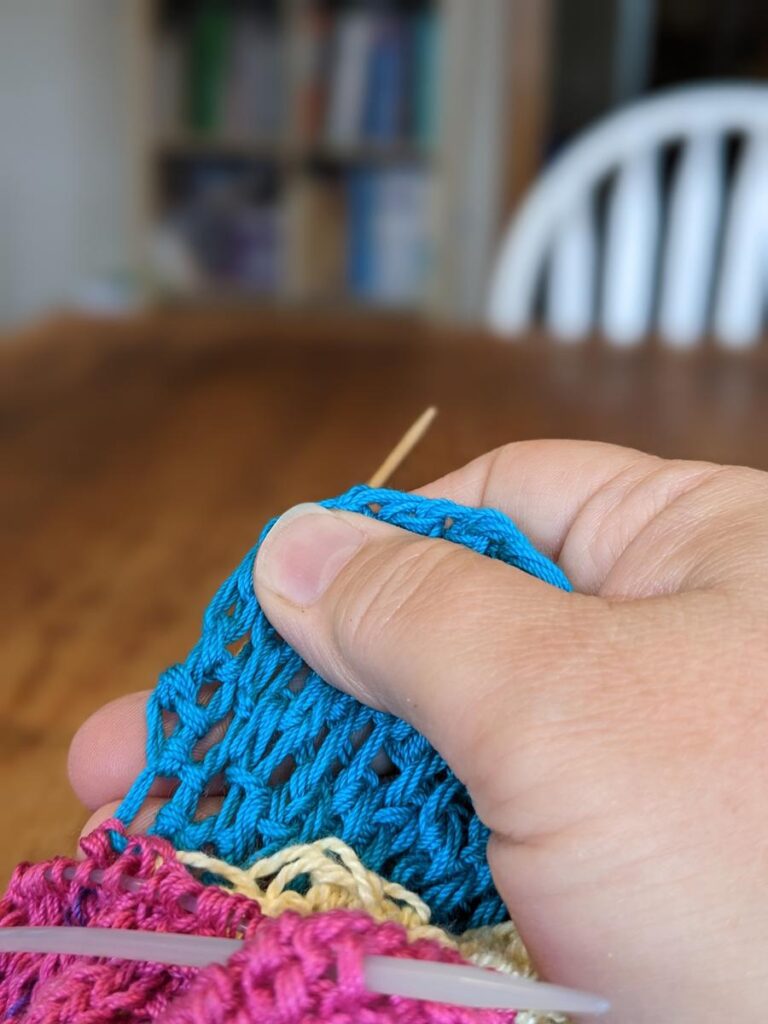
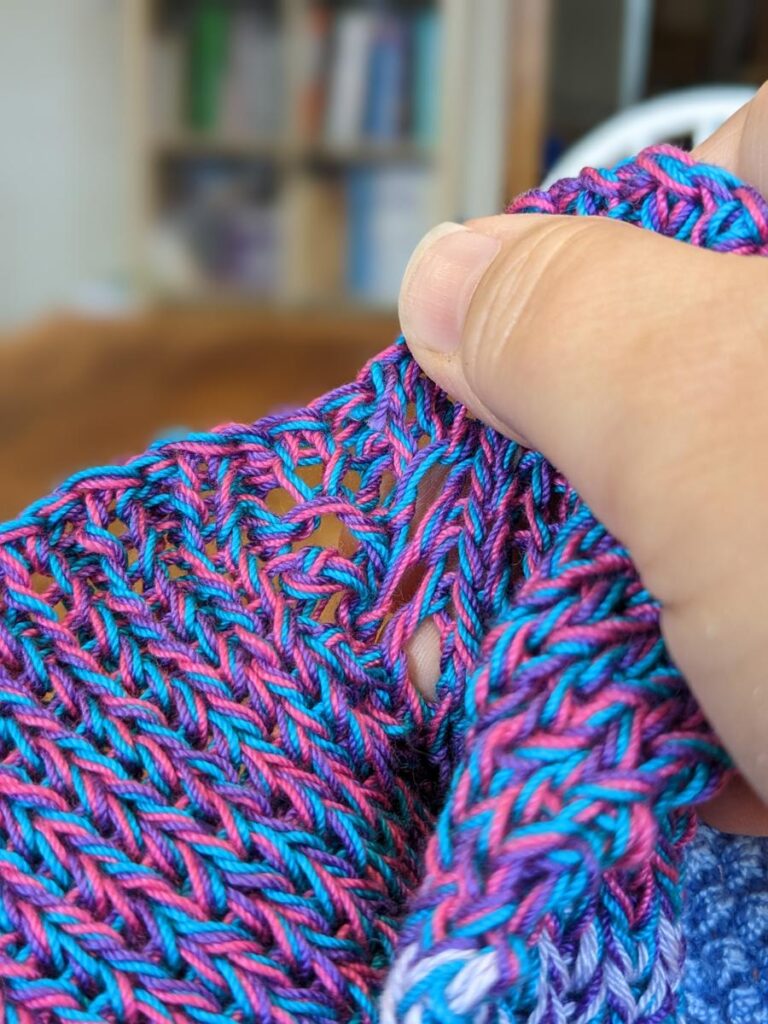
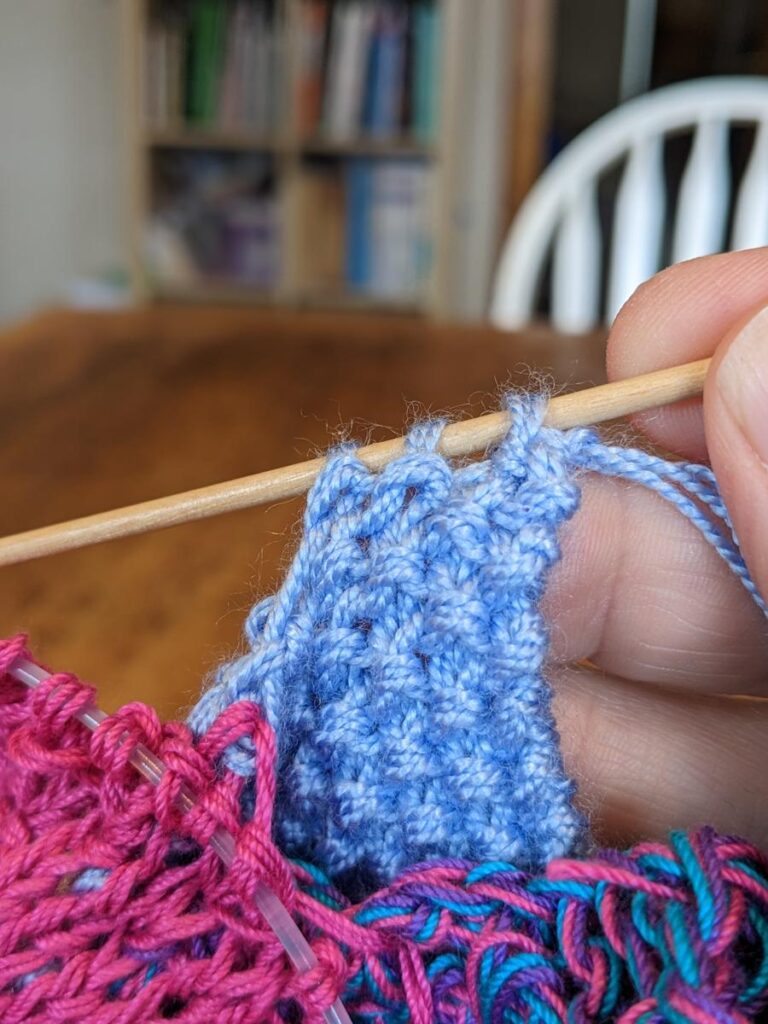
Knit a Cover Over All the Swatches at the Same Time
In a non-curling fabric, on needles that feel good to your hands but make a firm fabric, cast on enough stitches to make the two cover bottoms. In the spine, allow one stitch for each thin page, two stitches for each thick page, and 2 stitches for the turning hinge. Work approximately .25 inches/ .5 cm. Fold the book when you are in the middle of a row to make sure that the stitches allotted for the spine will give the selected swatches enough space.
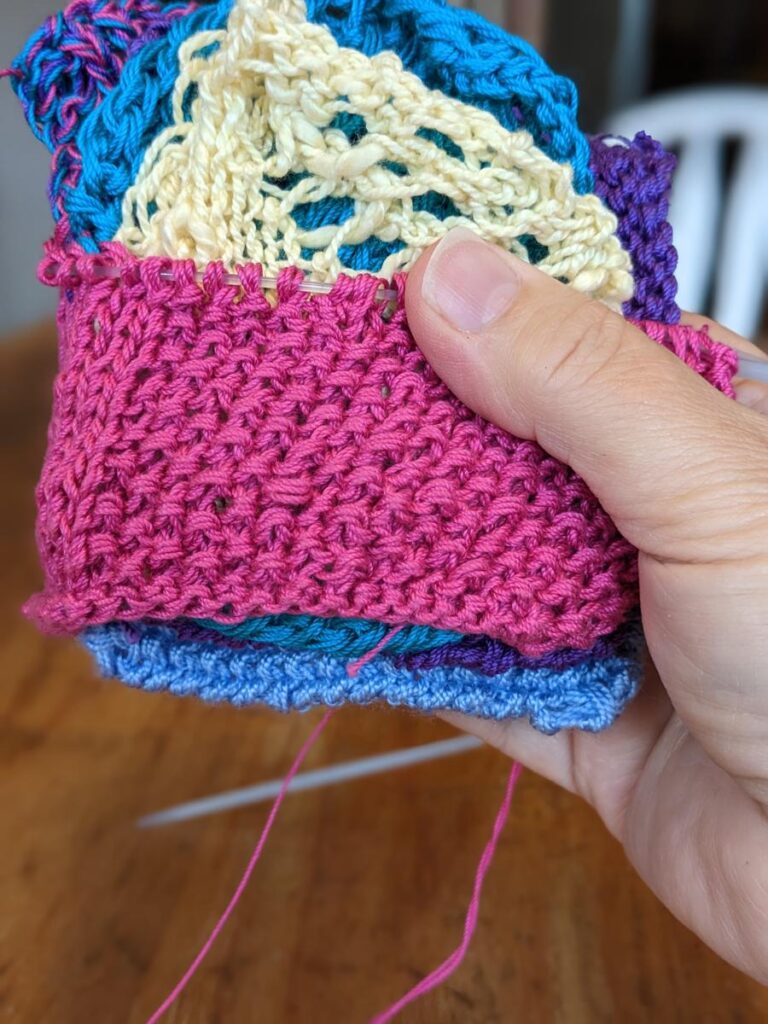
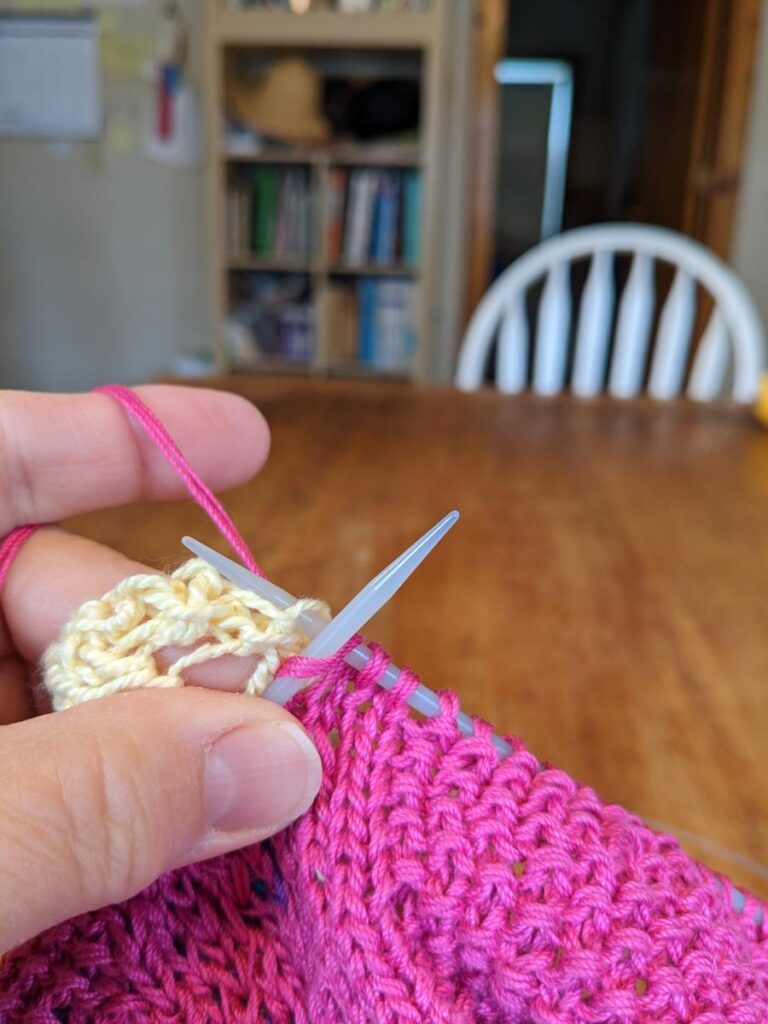
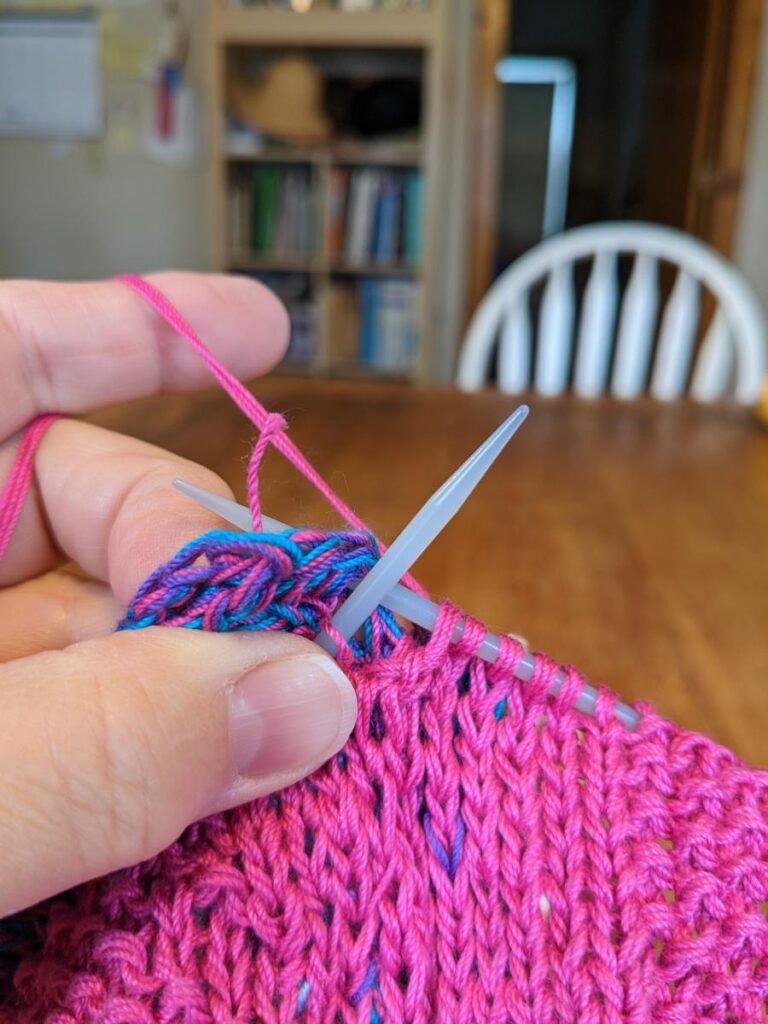
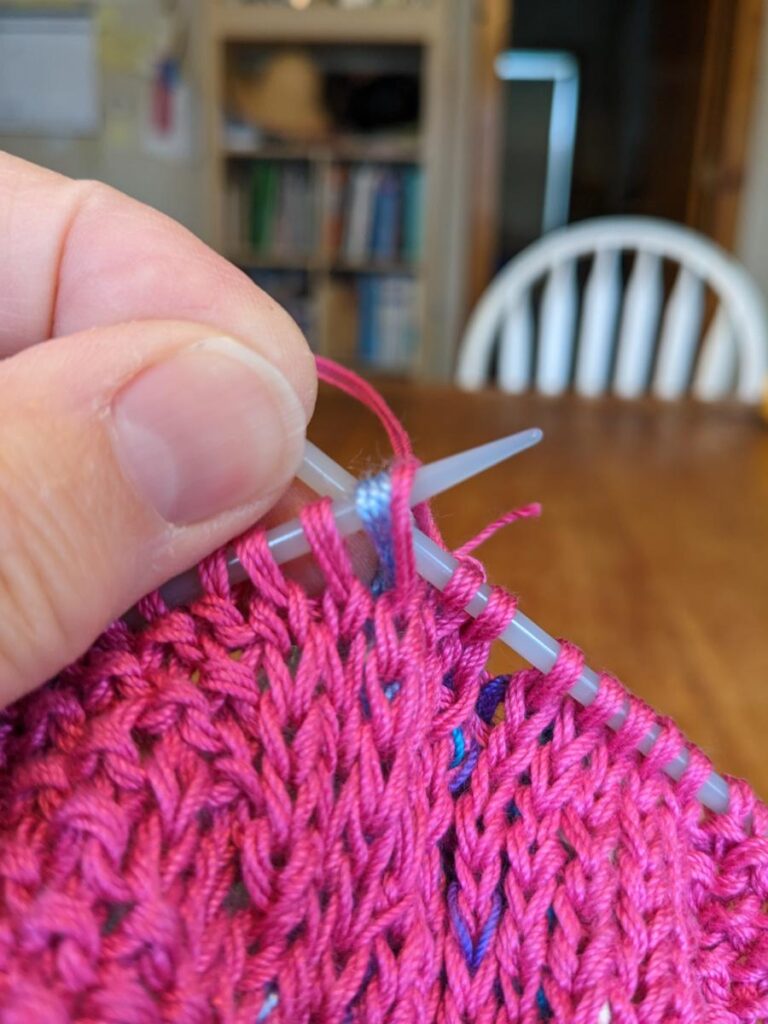
Knit to the hinge, k2, *knit the first stitch off with the cover stitch, k1; rep from *, k2, continue onto the back page of the cover. Turn, work back in pattern, working stockinette over the spine. Adjust the spine stitches for any thick pages.
Depending on how many stitches there are to connect to the cover, some rows may need to pick up more than one stitch to knit off with the cover stitch, some may need to be skipped that row. Some pages will be shorter than others and will run out before others. Just try to keep things even. Once all of the pages are connected, work as many rows of cover above the page connection as there were rows below.
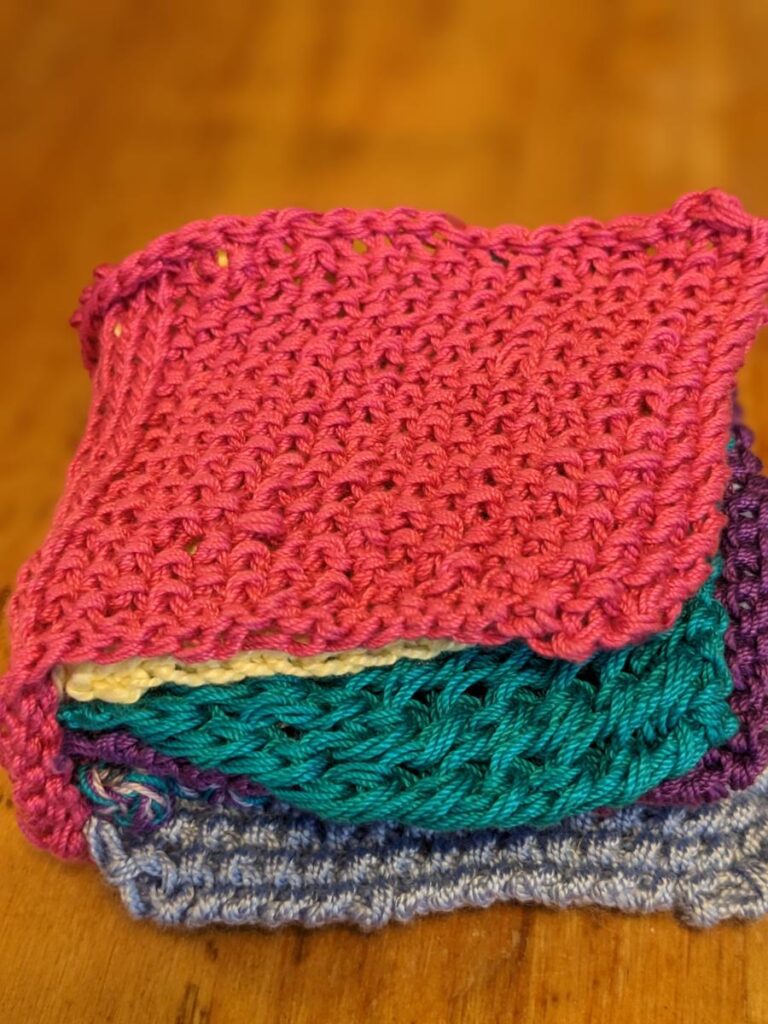
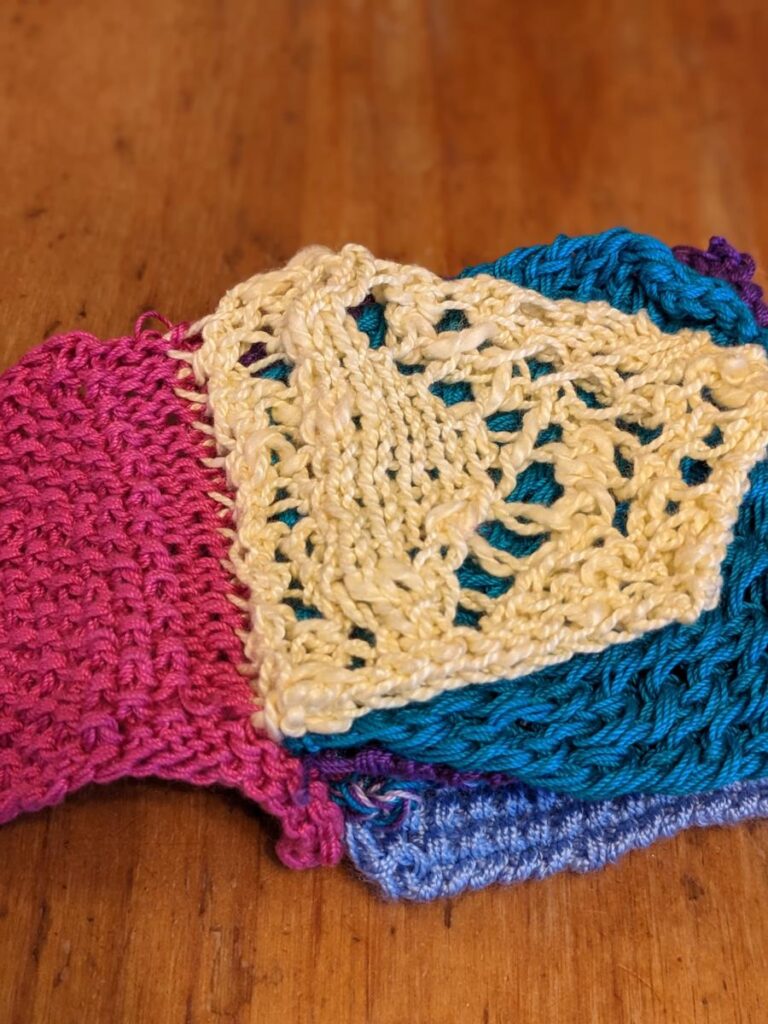
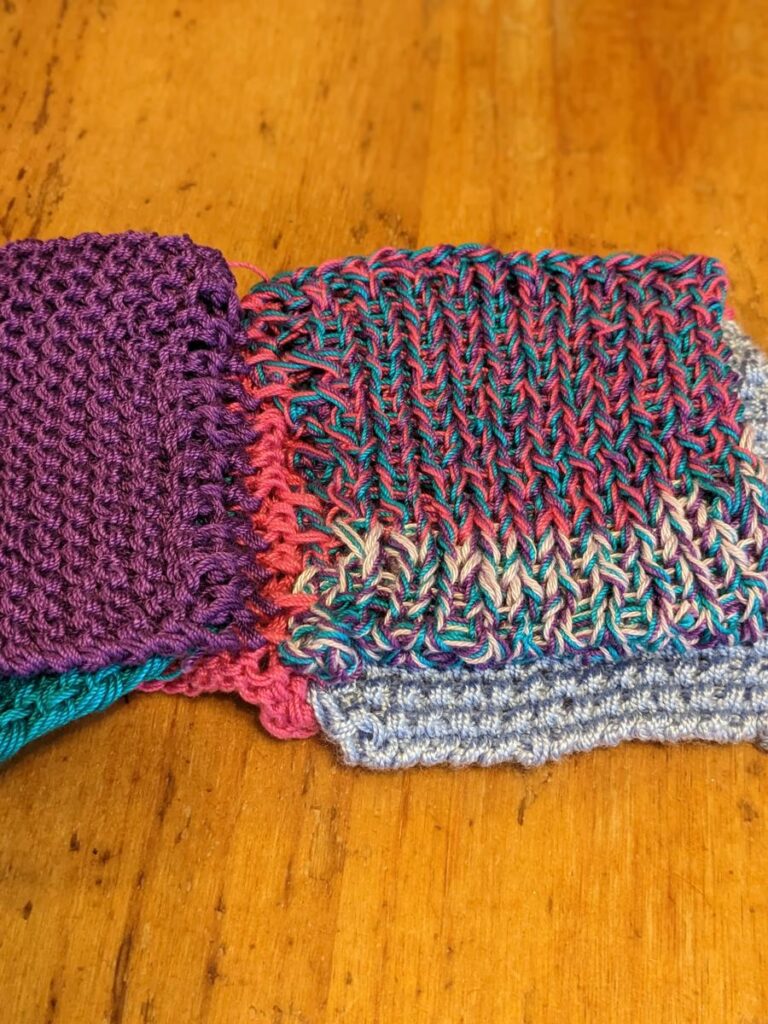
Finishing
Throw the book in the washing machine, then weave in the ends. (Or the other order if that is how you roll) The page edges may be decorated with crochet, the middles with embroidery.
I’d love to hear how cute your books came out, how the family liked the toy, and if your space got more tidy when you were done.
And if you took up swatching as a result, I totally want to hear about it!
