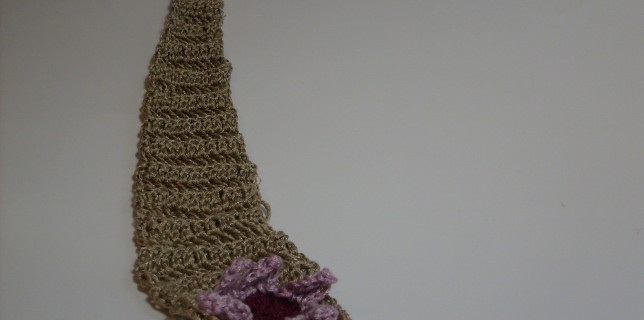
I’ve almost got K’s skirt paisley systematized, I’ve made one the right size, I want to document it so that I’ll have an easier time with all the others – which led to an hour and a half computer detour this morning:
When I went to make a chart, I found that my stitchin crochet font wasn’t installed on my computer anymore (DH upgraded me last spring.) I wondered if I could log in and download it again, when I found that there is a pro version for only $4.00 (depending on the license) that has some more decreases, 2 and 3 chain starting chains as their own symbol, proportional between the stitch sizes. $4.00 was worth it!
It took me a while to install it though, because DH is off at a F.I.R.S.T. Lego competition as a Core Values Judge today, and I had to figure it out myself. I finally bit the bullet and typed the command into the command line and opened the True Type Font file that is protected. I had to cut and paste the command from a Linux Mint forum, but it wasn’t as hard as I thought it would be – wait til I show DH!
Meanwhile, nothing makes procrastinating about a computer problem more fun that Pinterest – which led me to this site showing a gorgeous crocheted sweater in process (which reminds me a lot of ZenTangling tm).
I want to make ‘thorns’ like that on some of K’s pineapple paisleys on the bodice of her sweater. I was stumped even with the photos about how to fill in the negative spaces with the next several color layers. I lay down during the kid’s naptime (it’s totally Mom’s naptime) and it hit me: you chain out, then crochet with increasingly longer stitches back down the chain, slip stitch to the foundation row you’d been working on, then build up to the level of the first chain by making larger and larger stitches. In a way, you miter the space.
I’ll chart it later so it makes more sense, in the mean time, writing it down and linking to the site means I’ll remember it!
