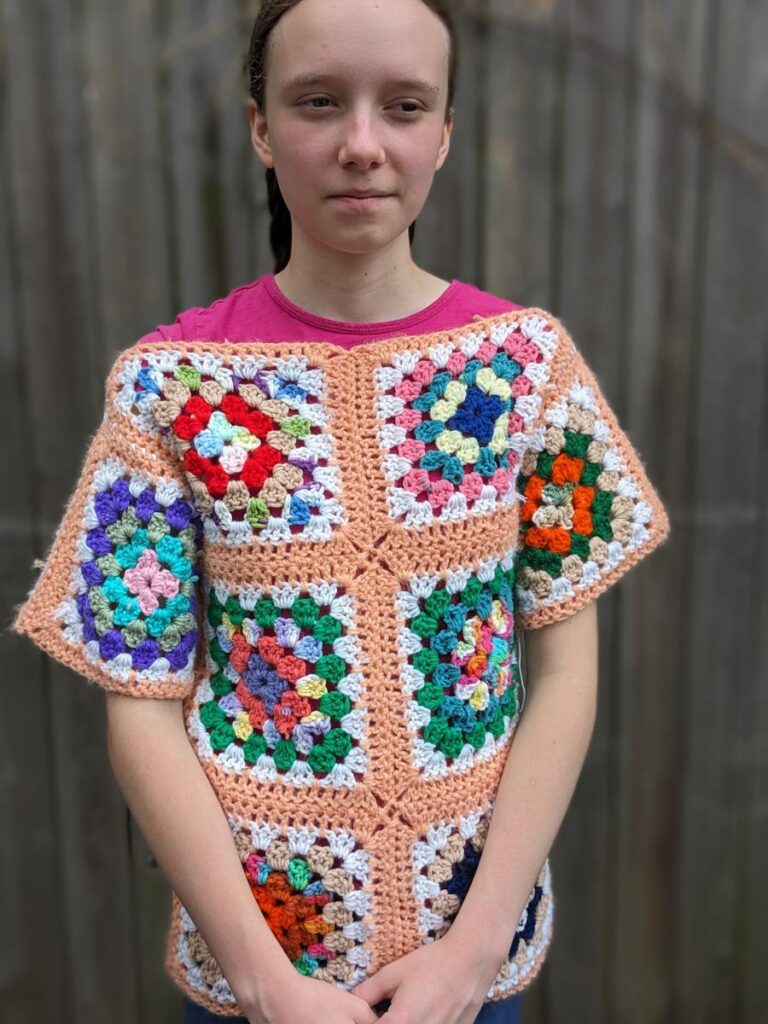
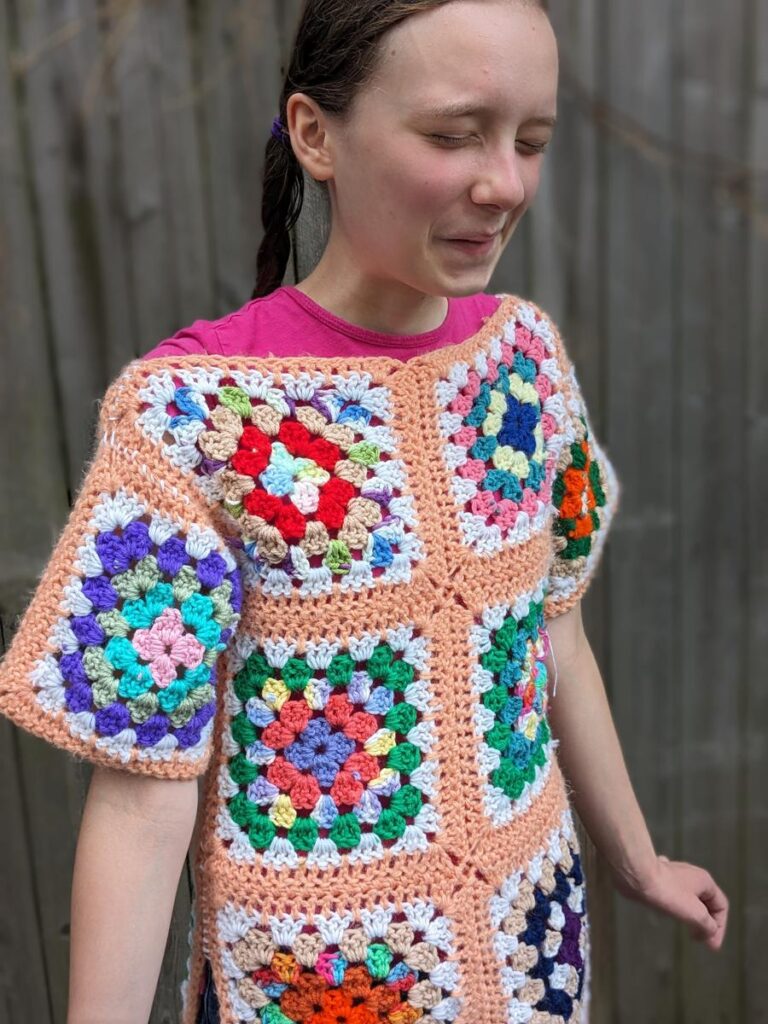
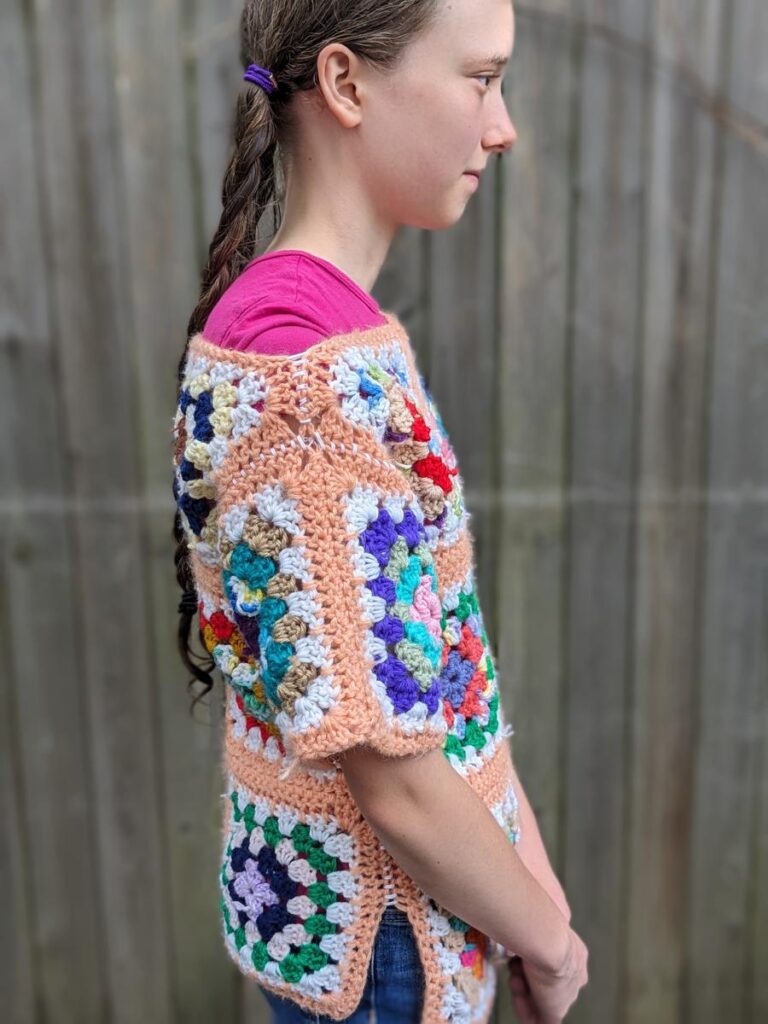
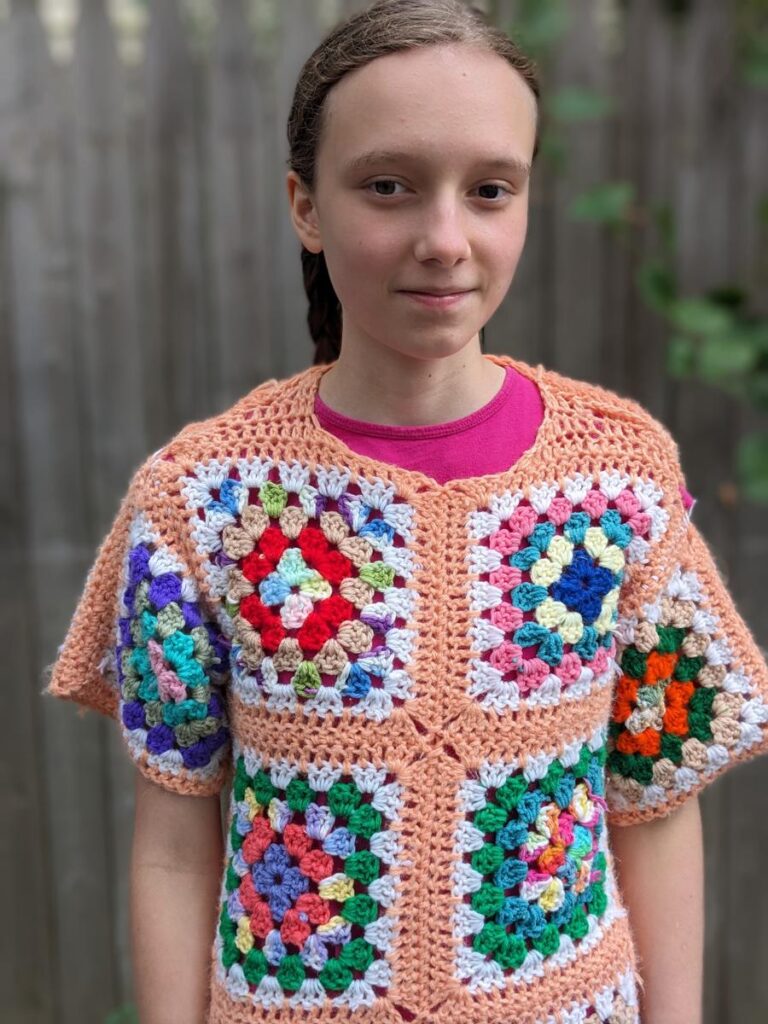
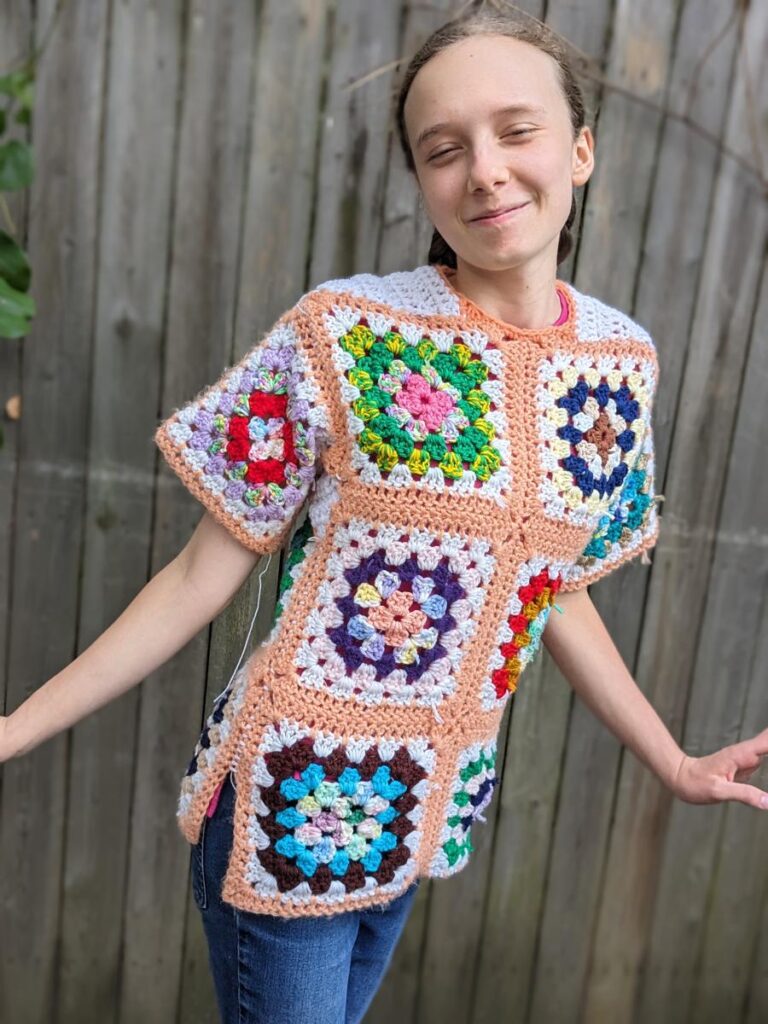
I expected this version to look challenged when my daughter modeled it, but WOW! OK, a Minecraft Sweater can look very cute! (Despite the face)
My Experimental Procedure
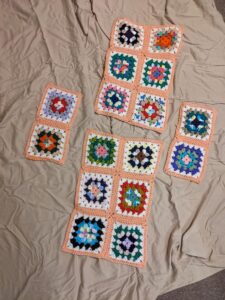
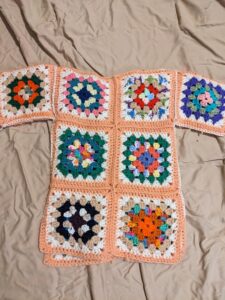
I wanted to demonstrate various strategies to fit a dropped Shoulder Boat Neck sweater, whether one based on Granny Squares or not, but I didn’t want to spend my sample making time on them (because this is an “O, Shiny!” blog series)
So I bought an afghan off of e-bay, then took it apart. I seamed it with slipped stitches, in slippery mercerized cotton so that it would be easy to re-configure to demonstrate various options.
My tools were a large swatch that I could slip under seam openings to determine the size of the filler parts, some chain stitched lengths in the apricot yarn for the same purpose and my phone camera.
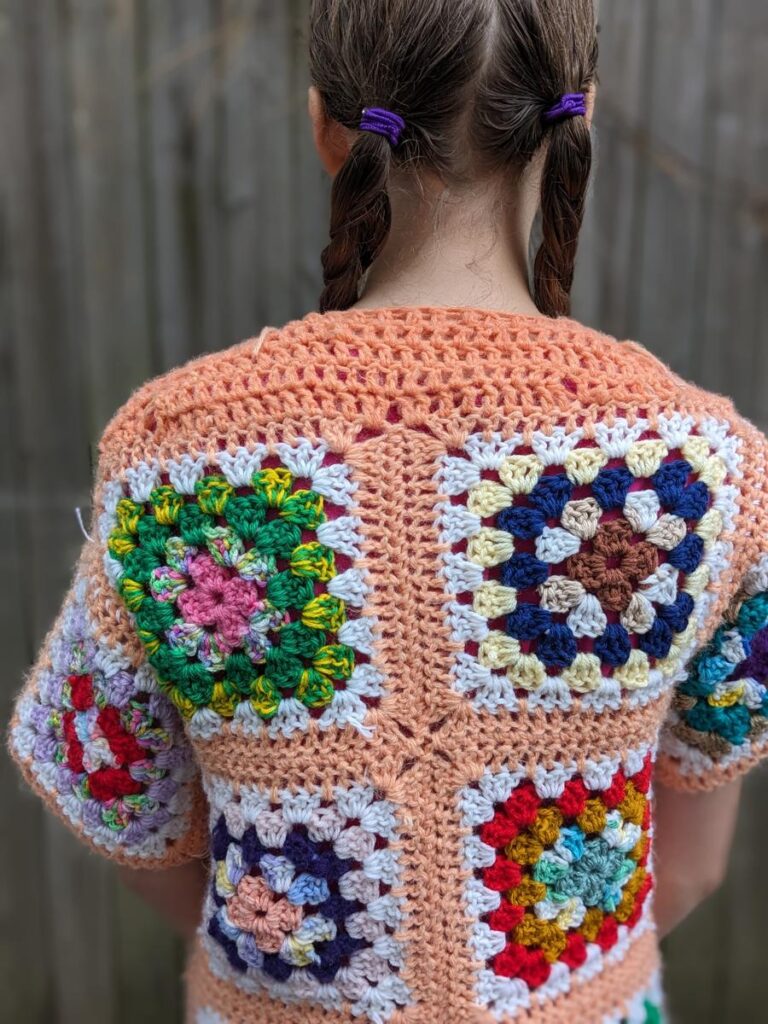
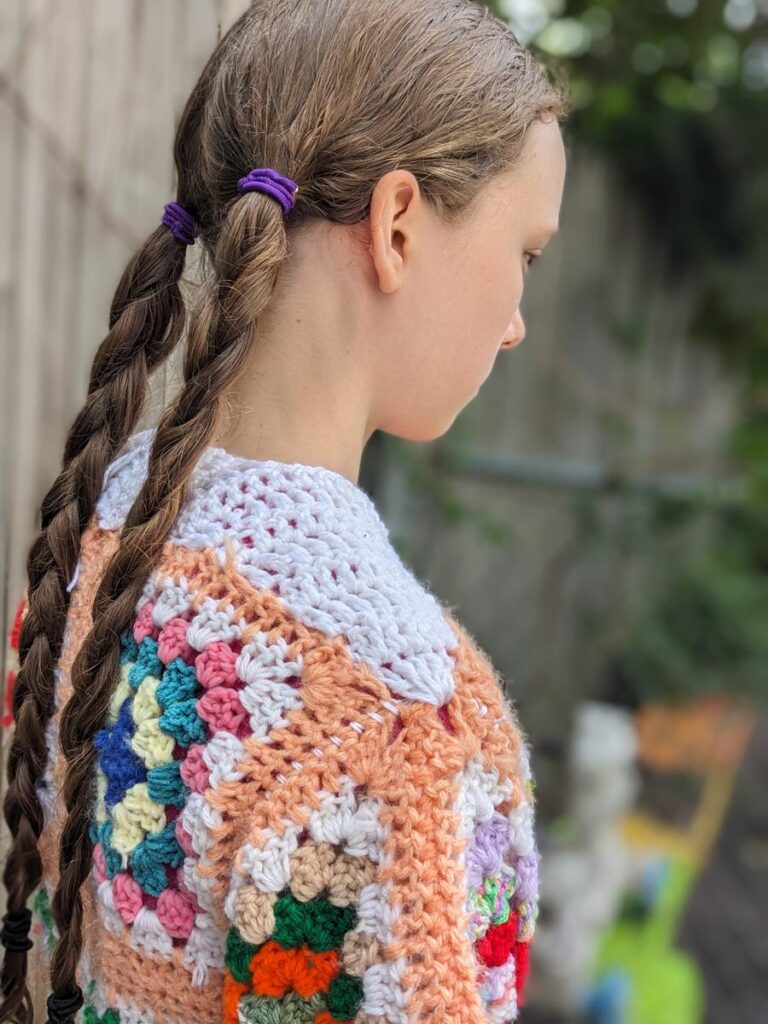
Shoulder Angles
If you place your hand beneath your throat, then slide it over to the ball of your shoulder, there may be as much as a palm’s difference in the height. In the back, it is smaller (and more awkward to try!) By twisting a lot, I get two fingers height difference.
Most people’s shoulders slope, and their necks are set towards the front of the body. In crochet, adding an angle in a few stair stepped rows is fairly easy, but how many steps and how high should they be?
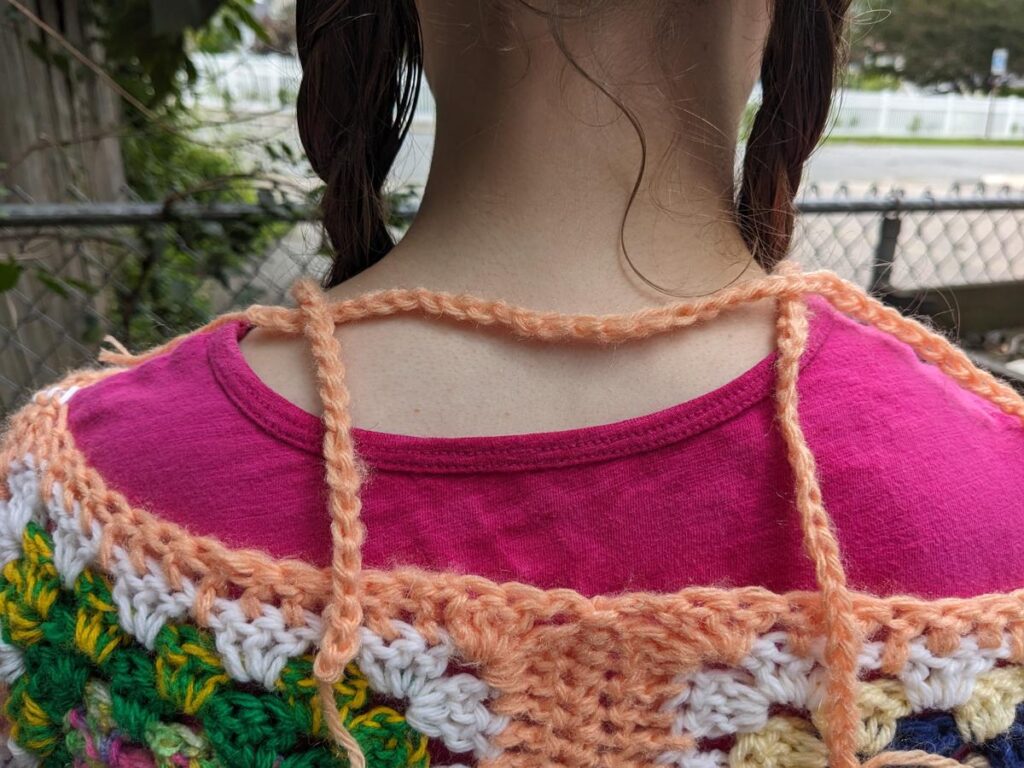
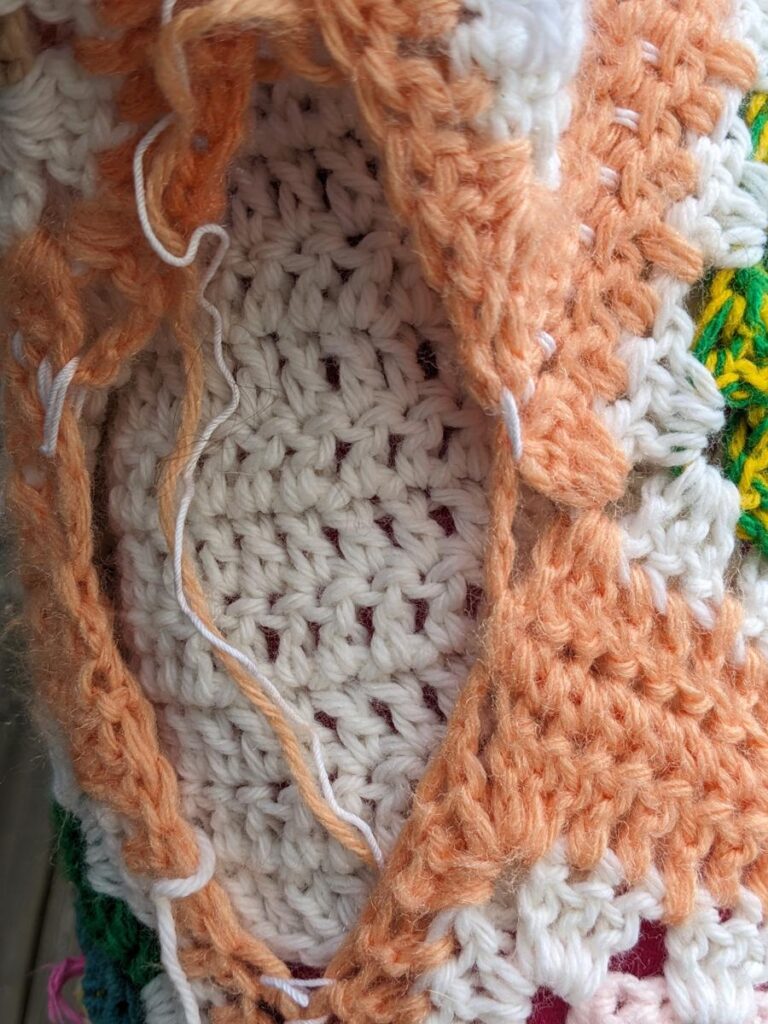
Using the chain and swatch rulers
I measured how much higher the neck should got on this sweater with the chain stitch rulers. The chains tell how many rows to add in this way: a double crochet is two chains tall, so for 8 chains high in the back, I needed 4 rows of double crochet in the back. If I were using single crochet I would need 8 rows, and if I were using treble crochet I’d use 3 rows and let the back neck be a smidge too tall (trebles are 3 chains high). But all the stitches are as wide as one chain is tall.
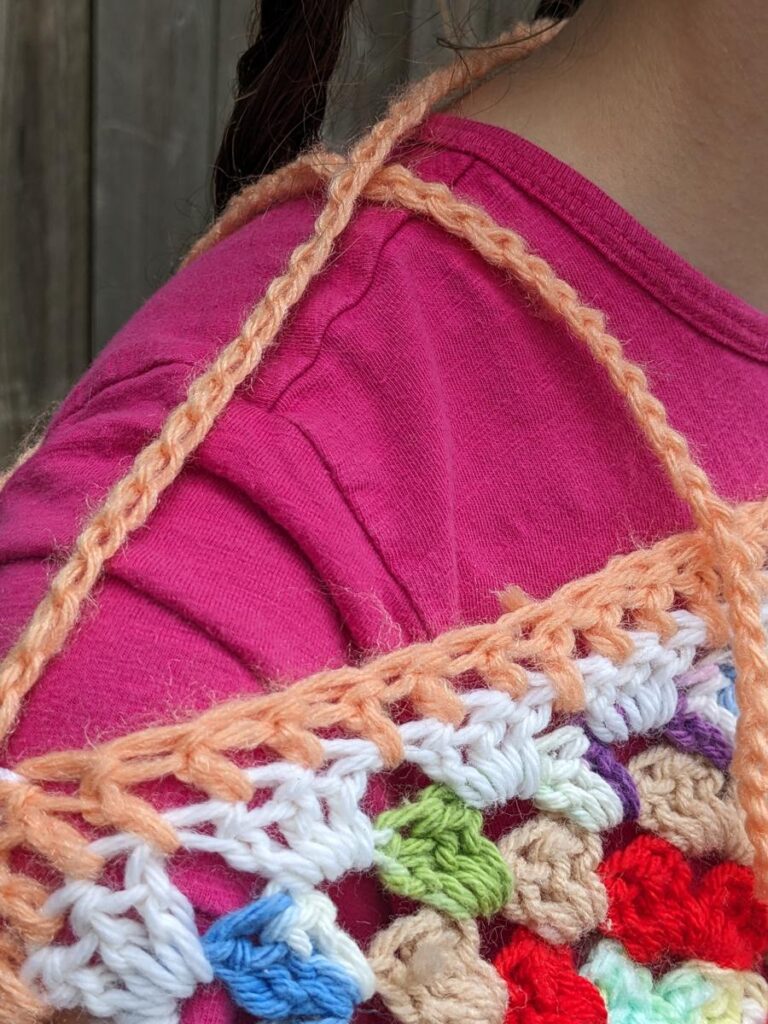
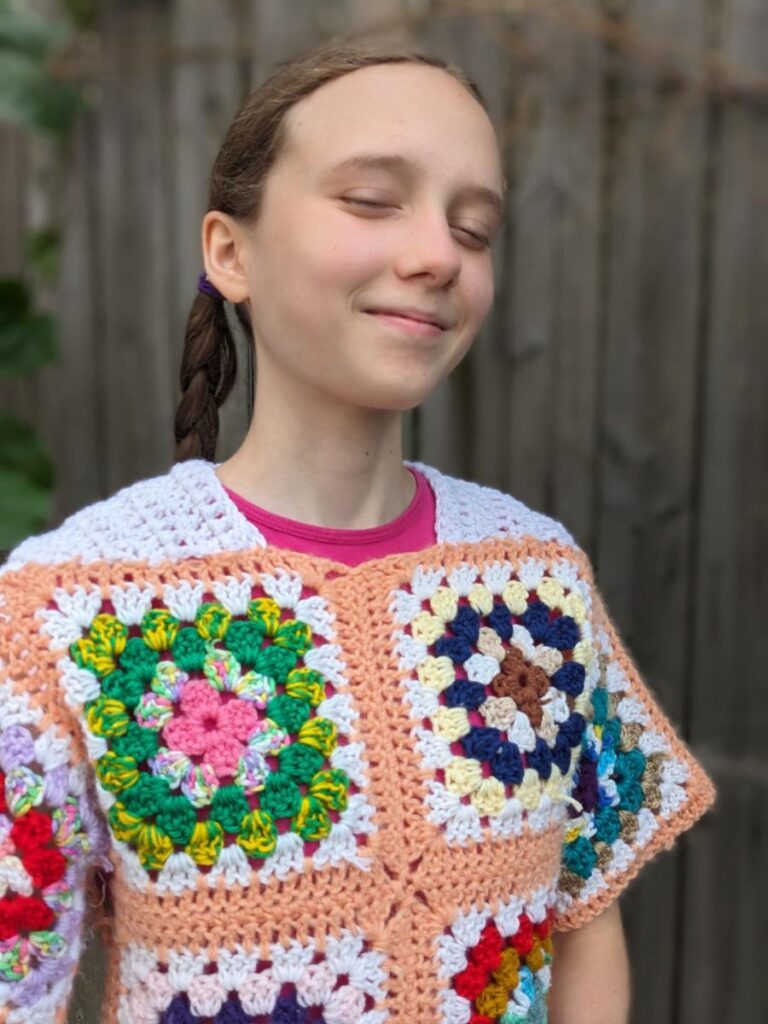
We can also use increases along the sides instead of short row stair steps. I began the wedge by drawing up a loop in the side of the neckline 2 stitches away from the seam in the sleeve, then worked 5 sts into that spot. To join the wedge to the back of the sweater, I pulled my hook out of the working loop, then pulled it through the back of the sweater and made a turning chain. Then I pulled my hook out of the turning chain and pulled that loop through the back of the sweater 2 stitches further up sweater from the sleeve, and worked from the back of the wedge to the front of the sweater, increasing as I went. I repeated that joining procedure, and increased until I had the right number of stitches as indicated my my photo of my swatch inside the shoulder gap.
When I got to the back of the neck, I worked only some of the stitches until I reached the center.
I mirrored the wedge on the other side sleeve, but had to slip stitch across to get to the back of the neck stitches.
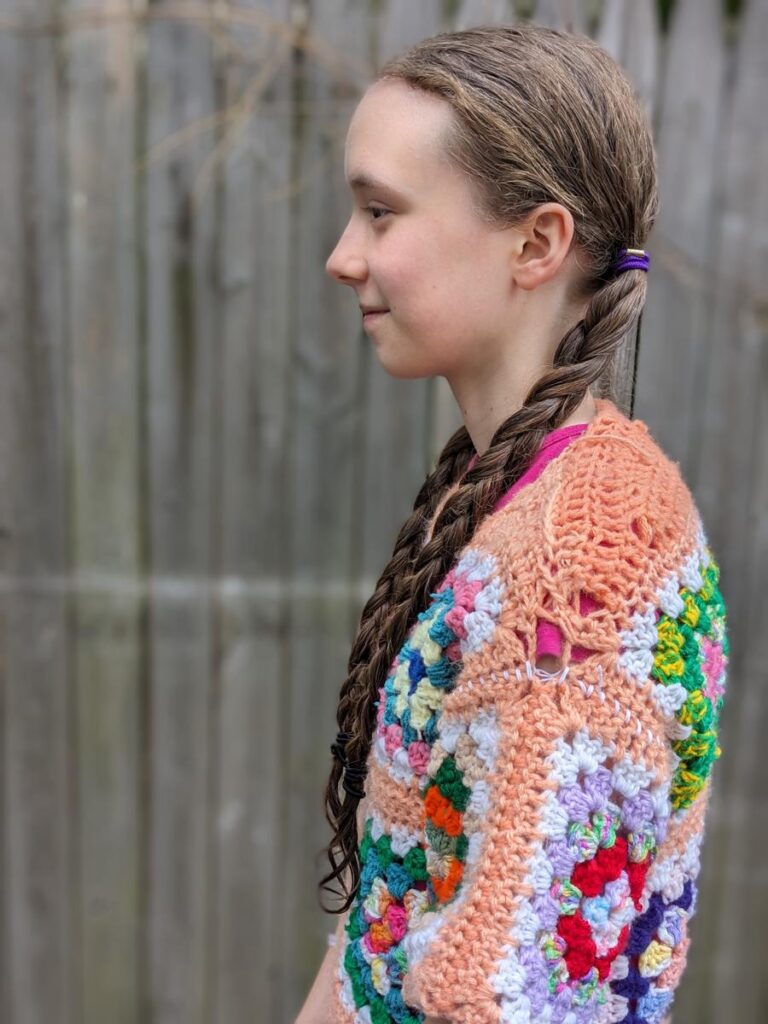
Underarm Gussets
Another aspect of the body is that there is a flat join between the torso and the underarm. If I place my hand under my arm, all the fingers fit flat before my back starts. I am a fluffy person though.
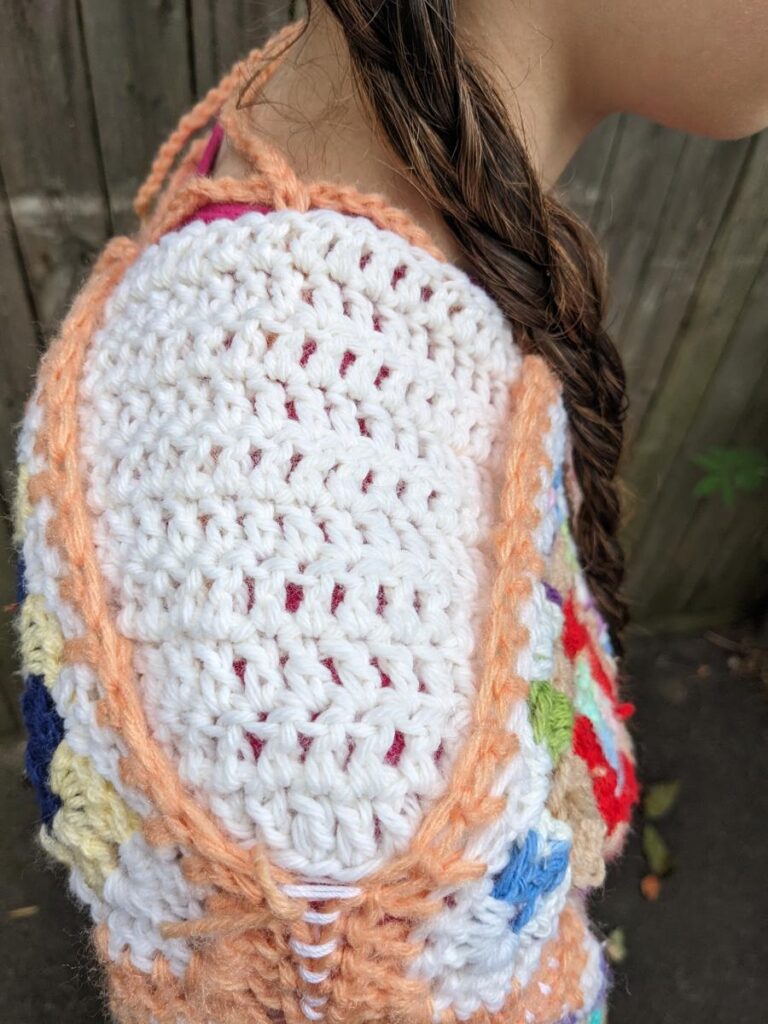
Many traditional clothes were made of simple shapes, but they added a diamond or football shaped piece into the seam between the body and the sleeve called a gusset, which could give a lot of motion to the garment without needing a lot more material or pre-planning.
Like the shoulder shaping, I saw how to make my gussets by opening the sleeve seams near the underarm, and sliding my large swatch inside. I photographed the way the hole fell naturally when my daughter raised her arm, then filled the space with a crocheted piece with the name number of stitches and rows as the photographed fill did. I connected it to the hole in the same way I added the shoulder shaping, but I could have crocheted a separate piece and sewn it in. The other side mirrors it.
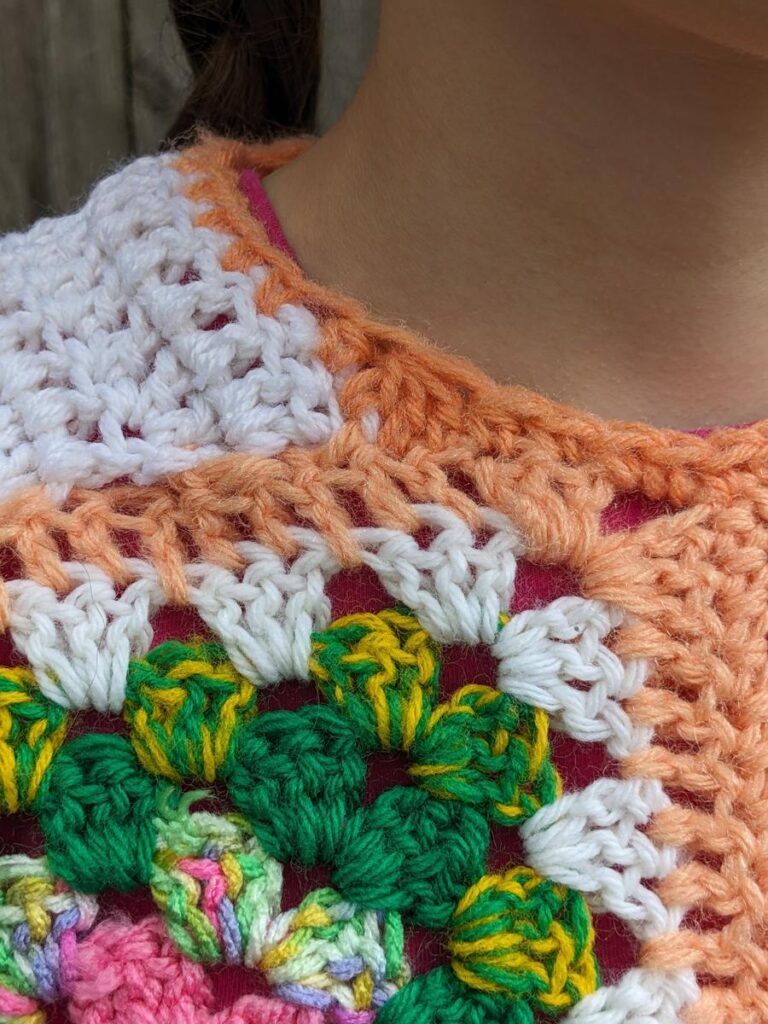
The last tweak was to make the neckline more rounded. I worked single crochets into each stitch around, until I got to 3 sts from the corner; then I worked a half double crochet, then 3 double crochets together, then a half double crochet. I resumed my single crochet in each stitch until 3 sts from the next corner.
I think my neighbor’s cat approves, what you do you all think?